path:
/readme.md
1.68 KB | plain1
2
3
4
5
6
7
8
9
10
11
12
13
14
15
16
17
18
19
20
21
22
23
24
25
26
27
28
29
30
31
32
33
34
35
36
37
38
39
40
41
42
43
44
# tastenbrett

A custom 50ish% ortholinear keyboard.
* Keyboard Maintainers: [ctucx](https://github.com/ctucx), [Milan Pässler](https://github.com/petabyteboy)
* Hardware Availability: i still have some pcbs, contact me(ctucx) if u want one ;)
## the hardware:

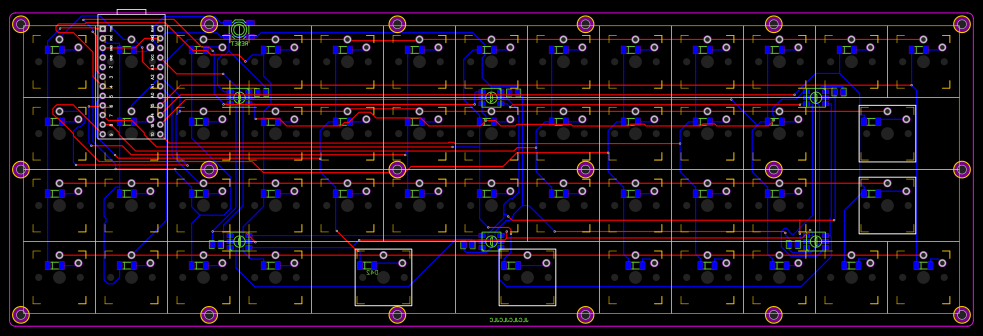
I made the pcb layout with easyEDA.
You can find it [here on easyeda](https://easyeda.com/le0nth3in/50-keyboard) and an export of it as well as the gerber files in the pcb folder in this repo.
The needed parts are:
- 1x pcb (surprisingly)
- 1x arduino pro micro (and matching pin headers)
- 48x Kailh Choc Switches
- 44x 1U keycaps
- 4x 2U keycaps
- 48x diodes (i used LL4148-GS08)
- 6x WS2813 led (optional, used for rgb underglow)
- 6x 100nF SMD caps (only needed if u want the led thingy!)
## case:
Well, i just used a second pcb as backplate for mine.
But you could probably also laser-cut one out of wood or plexiglass or desisgn a case and 3d print it.
## qmk
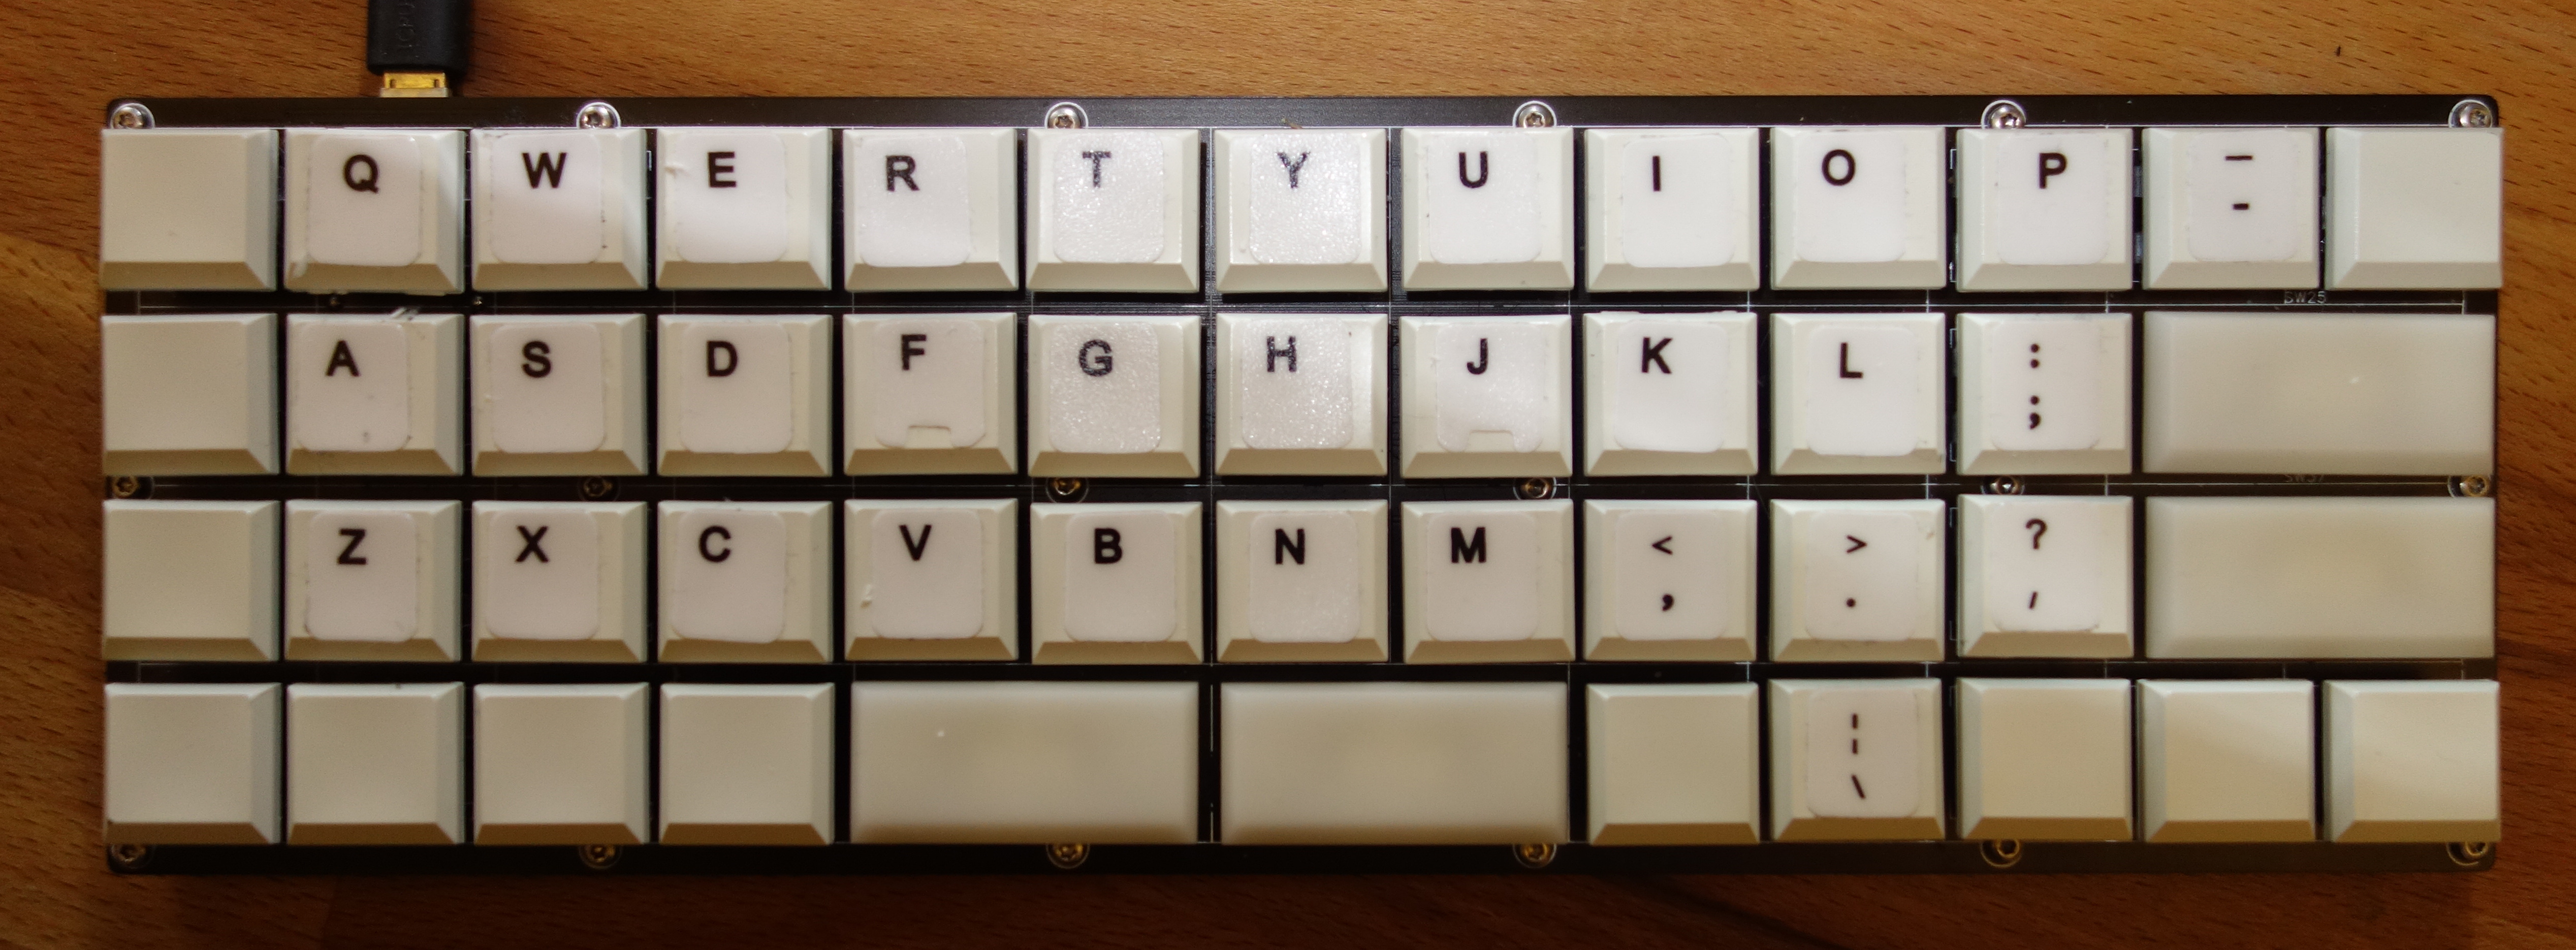
The default-layout looks like this:

Get a fresh copy of qmk and then copy the content of the qmk folder in this repo as "tastenbrett" to the "keyboards" folder of qmk.
Then u can build a qmk firmware with:
```make tastenbrett:default```
and flash it with:
```make tastenbrett:default:flash```
Look at qmk's [build environment setup](https://docs.qmk.fm/#/getting_started_build_tools) and [make instructions](https://docs.qmk.fm/#/getting_started_make_guide) for more information.